By Julie Goldstein
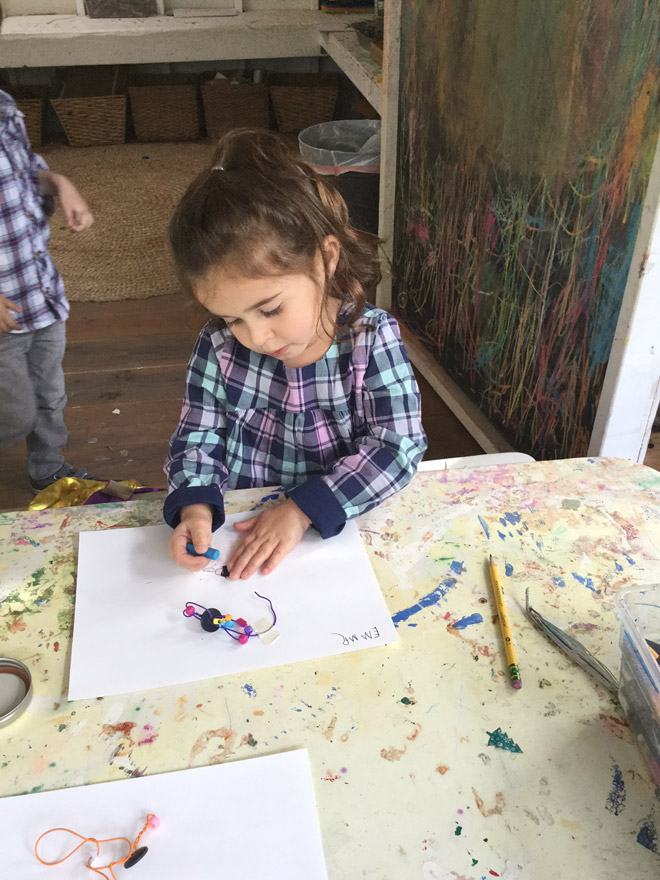
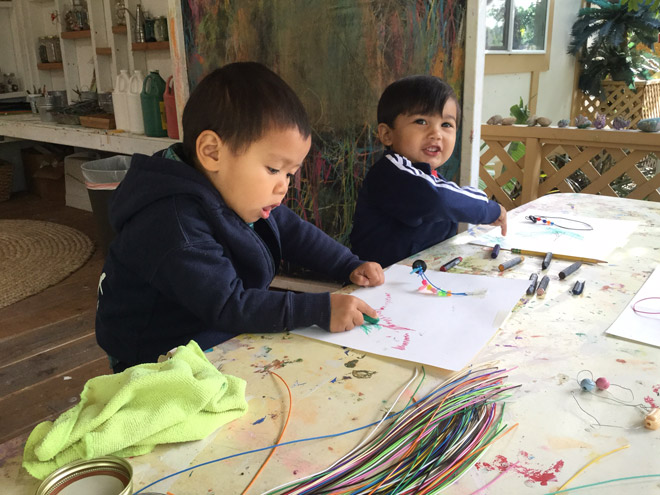
This project is one of my favorite lessons. I document the children’s development from the beginning of the school year to the end by teaching this twice. Children practice engaging their fine motor skills as well as planning, organizing and problem solving as they bead and weave with wire. After they create a sculpture, they use pencils, crayons and oil pastels to draw the sculpture. This step enforces observation and studying the movement of line as well as the shapes and colors of the beads. As you know, I am a big fan of observation work starting at age 2. The children tend to really focus, engage, and create beautiful works of art. Enjoy this project at home or in your classroom!
Materials:
- Wire (I use “twistees” from Discount Art Supplies, the kids like the color choices)
- Beads (a variety of sizes, depending on the age of the child)
- Buttons
- White drawing paper
- Pencils
- Oil Pastels
- Crayons
- Tape
Before you teach this lesson, apply one button to the bottom of the wire and twist it, so the children have a base to work with.
Step 1
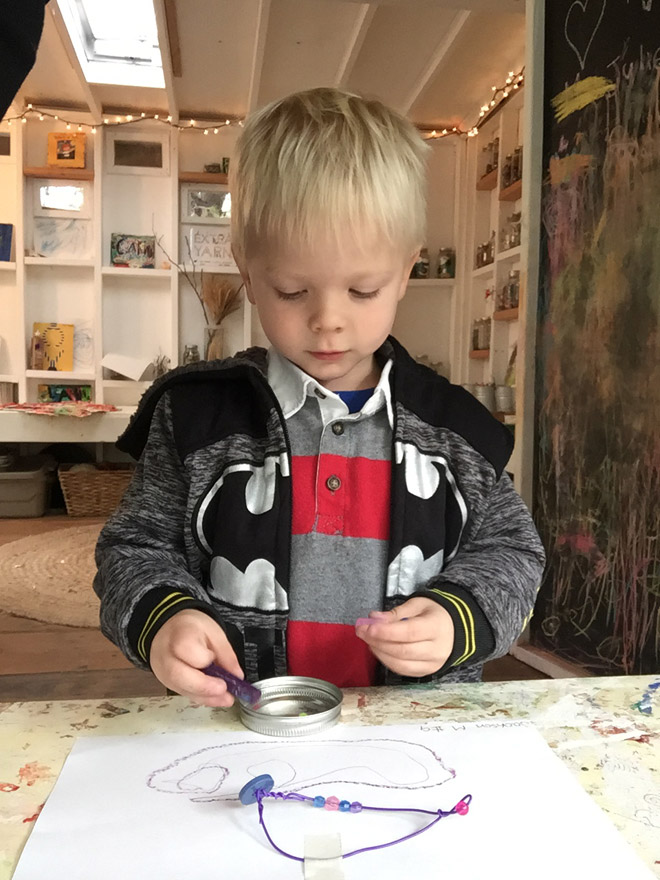
- Introduce the wire (for most children, this will be their first time exploring this material) Demonstrate how the wire changes by twisting and bending.
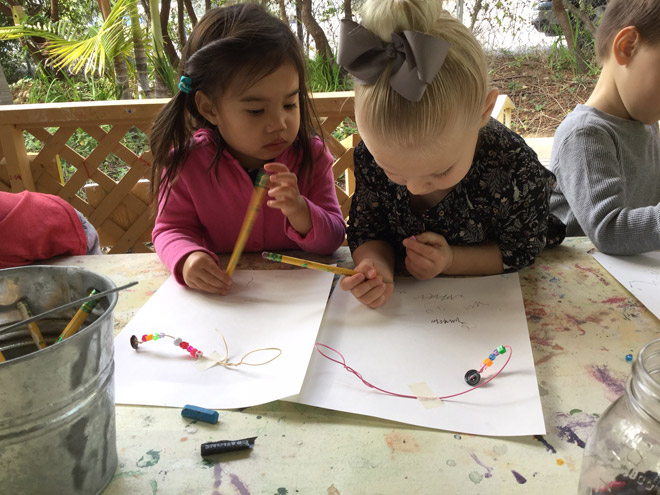
- Add a bead and show how to twist the wire around the bead, so that it is suspended. (I am trying to stay away from “stringing” the beads and rather suspending 4-5 beads, this engages their fine-motor and problem solving skills).
- Add a button and so on to demonstrate how to apply a variety of objects.
Step 2
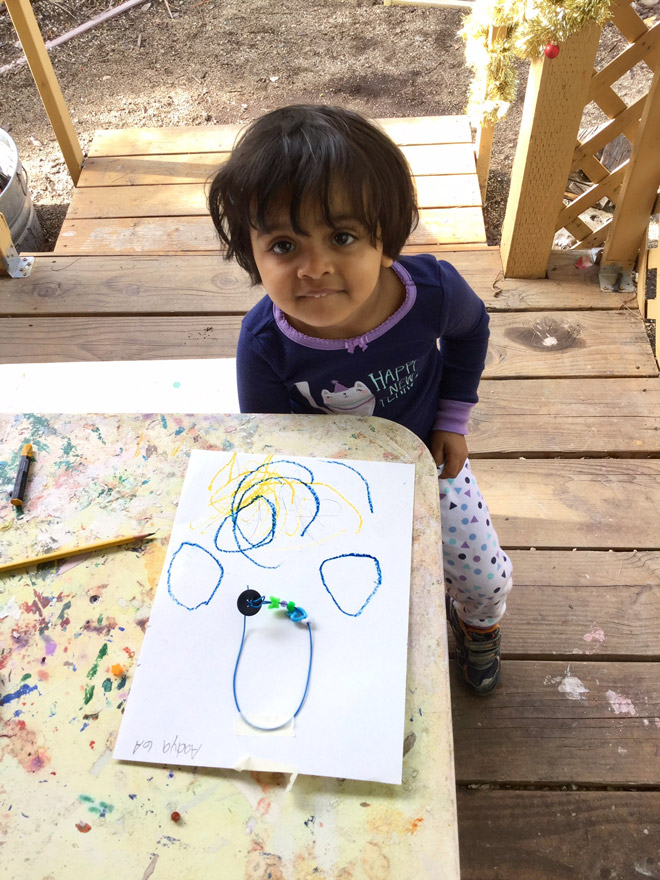
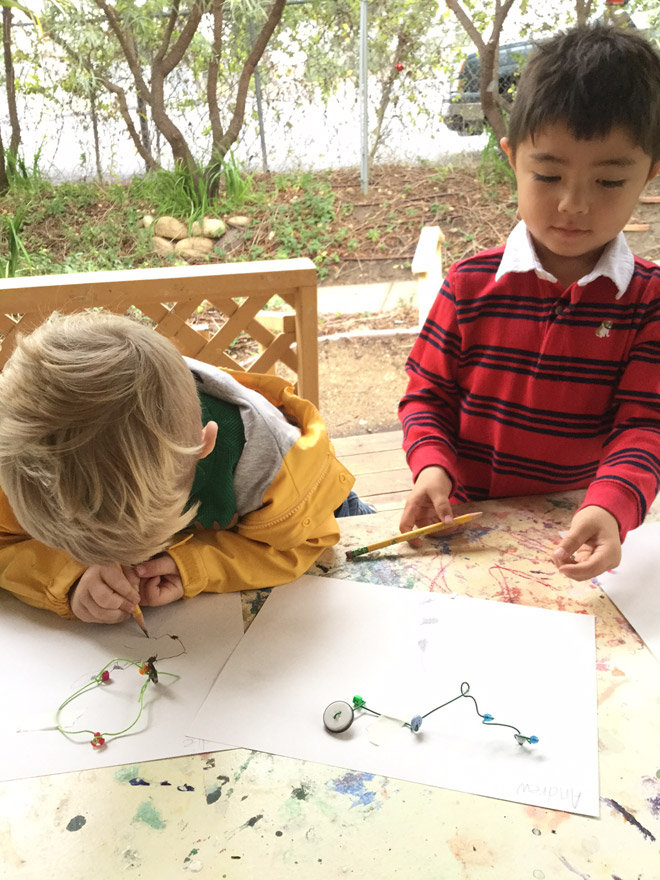
- Twist and turn the wire to create a “sculpture or form.”
Step 3
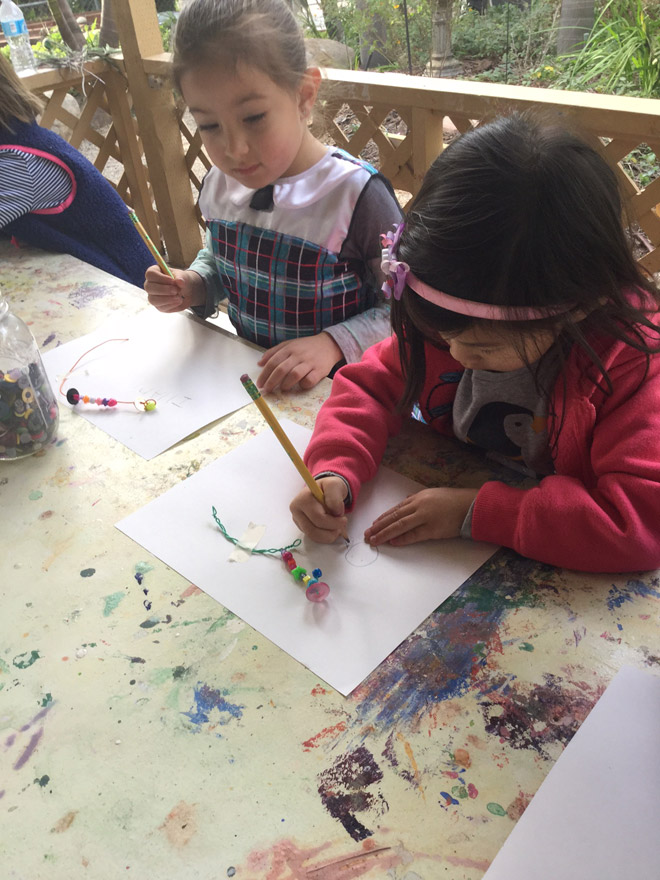
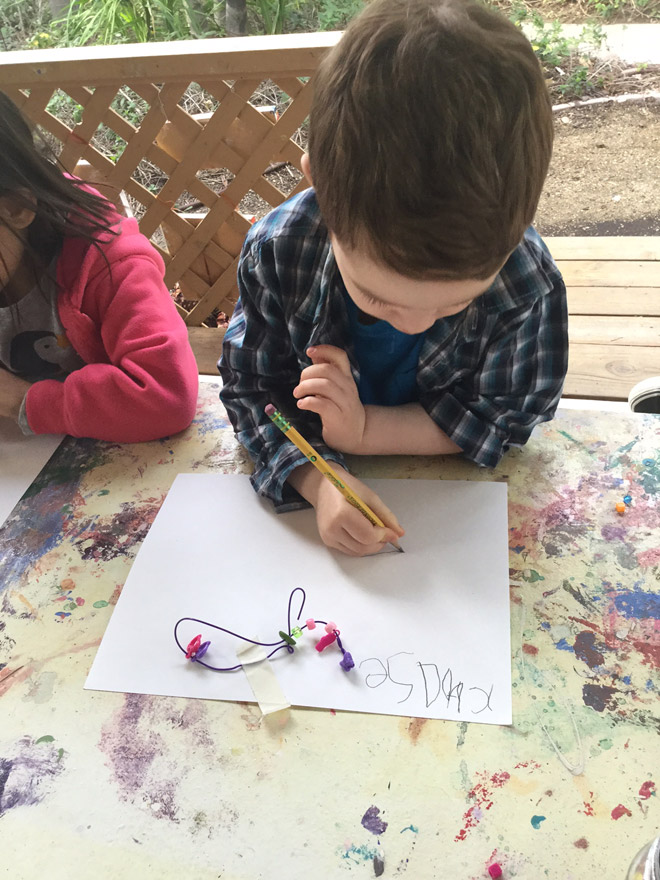
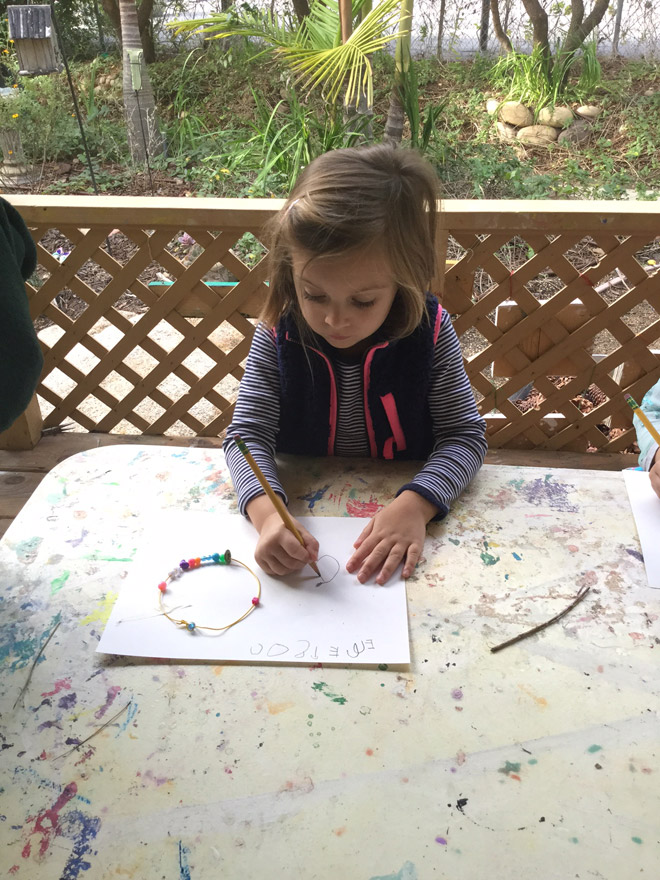
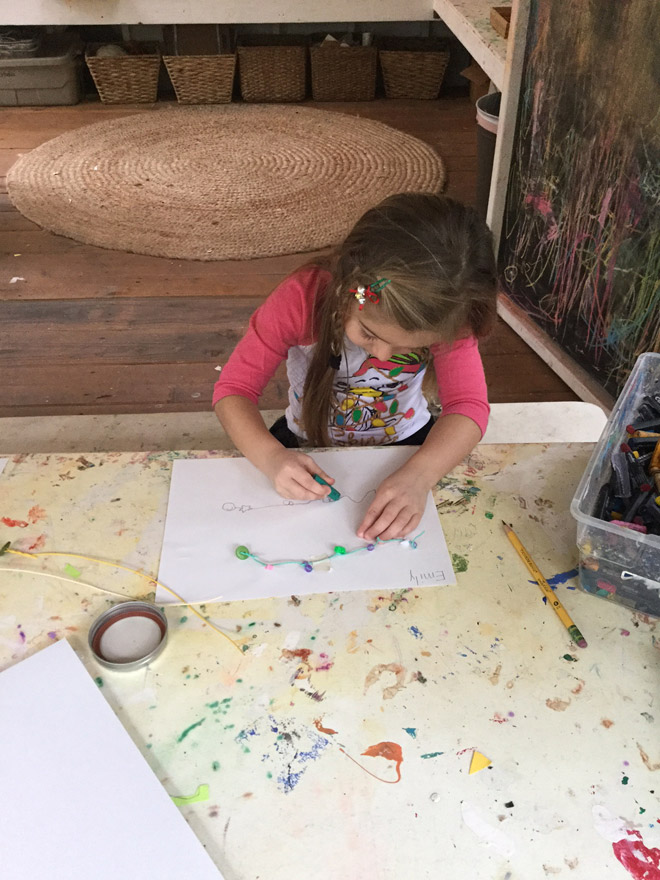
- Tape the sculpture to the top of the paper.
- Use a pencil to draw “what you see,” this is good opportunity to discuss “what the sculpture reminds you of.. a letter, shape or number?”
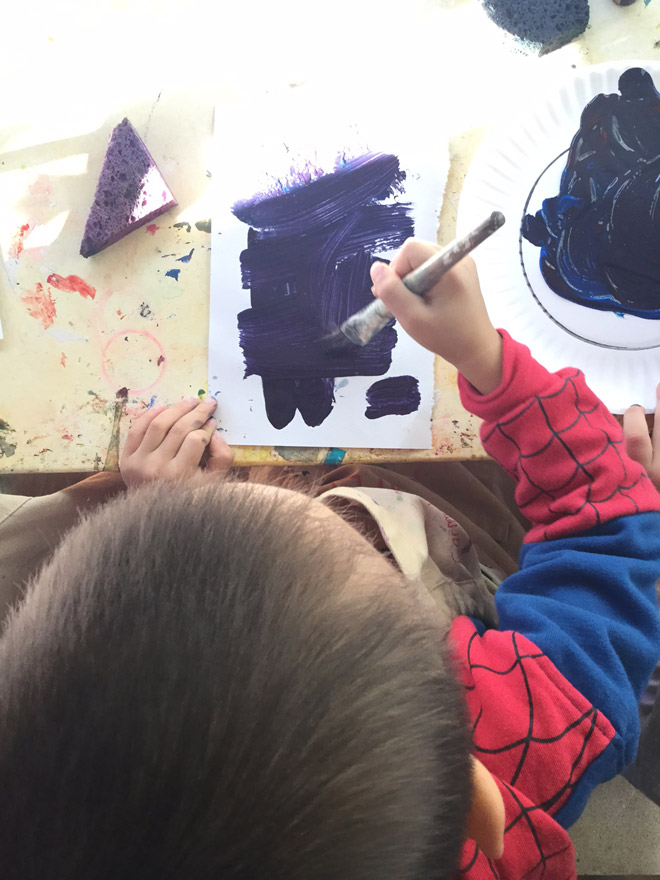
- Apply color by adding crayons and oil pastels to the drawing, creating an association to the actual colors and shapes in the sculpture.
Step 4
- HAVE FUN CREATING!