By: Julie Goldstein
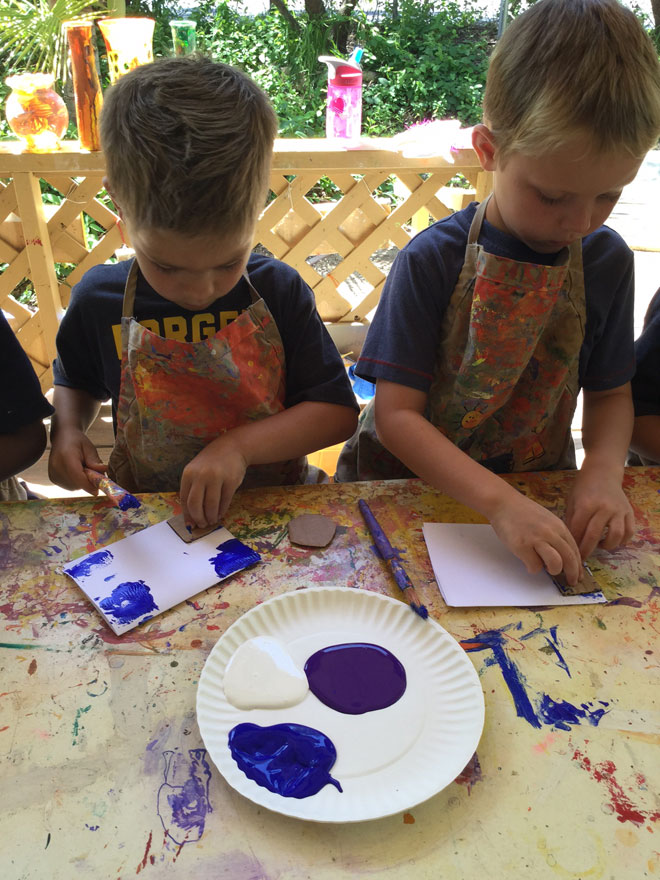
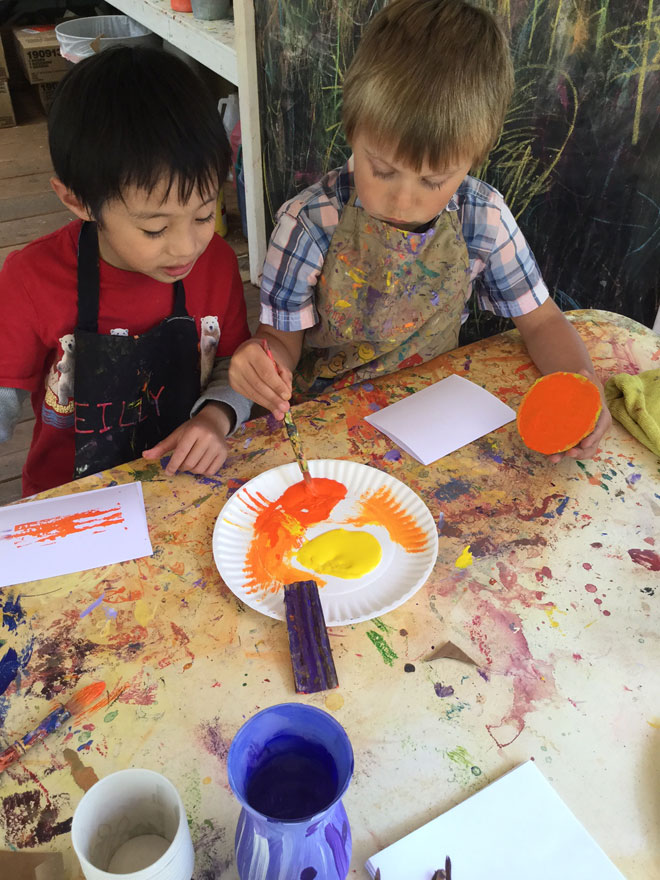
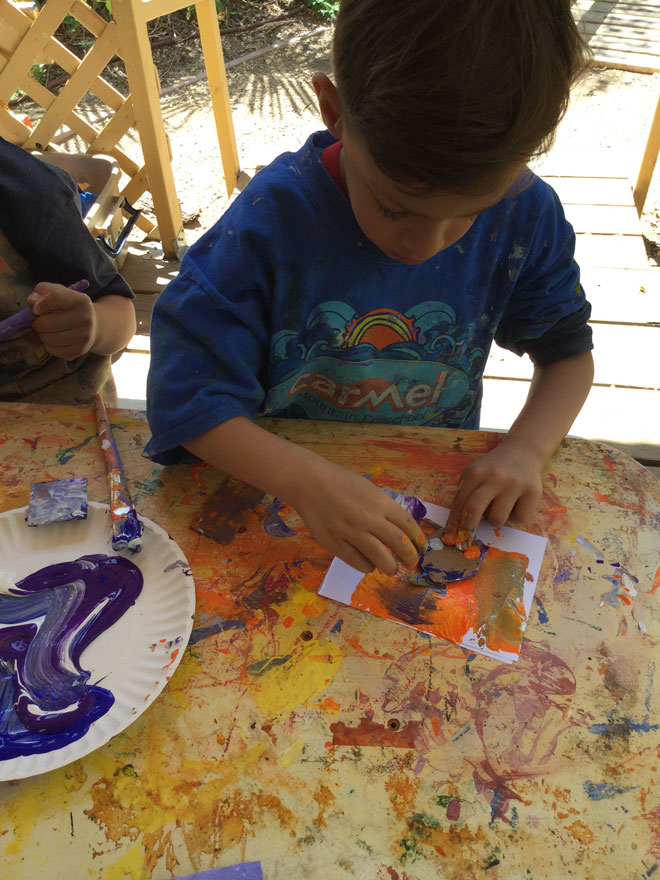
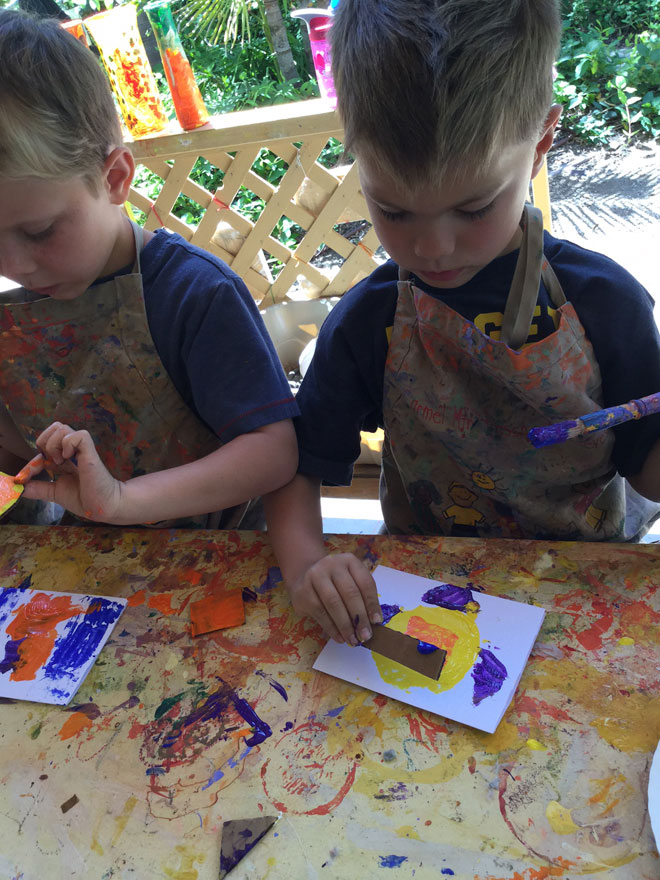
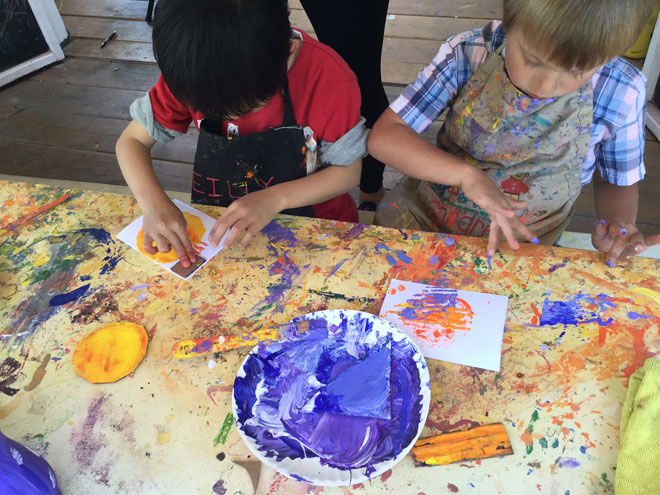
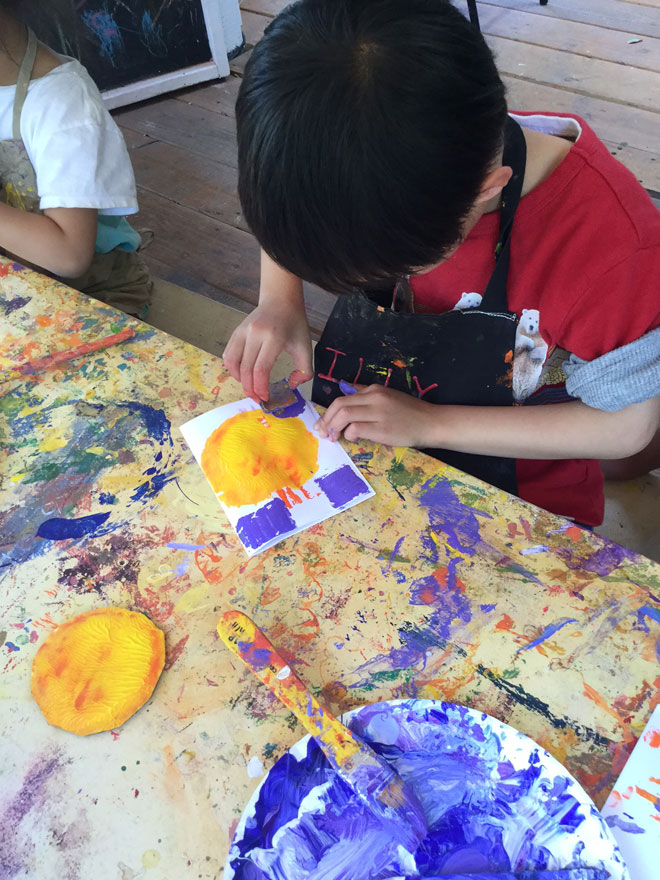
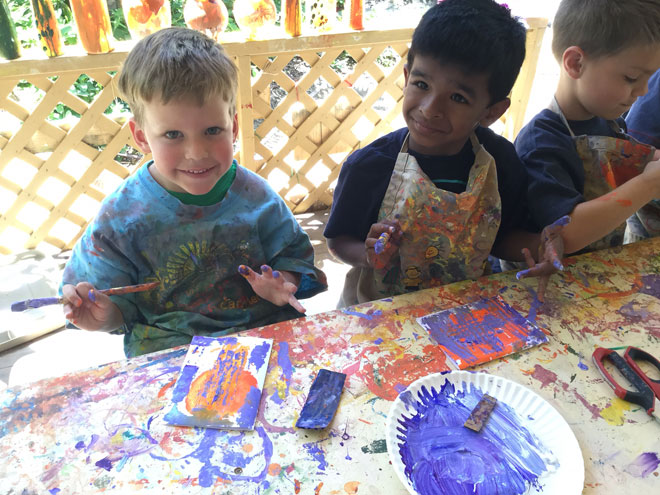
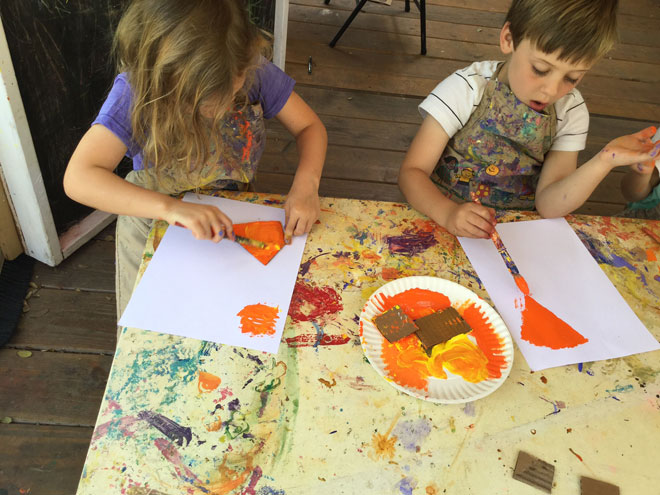
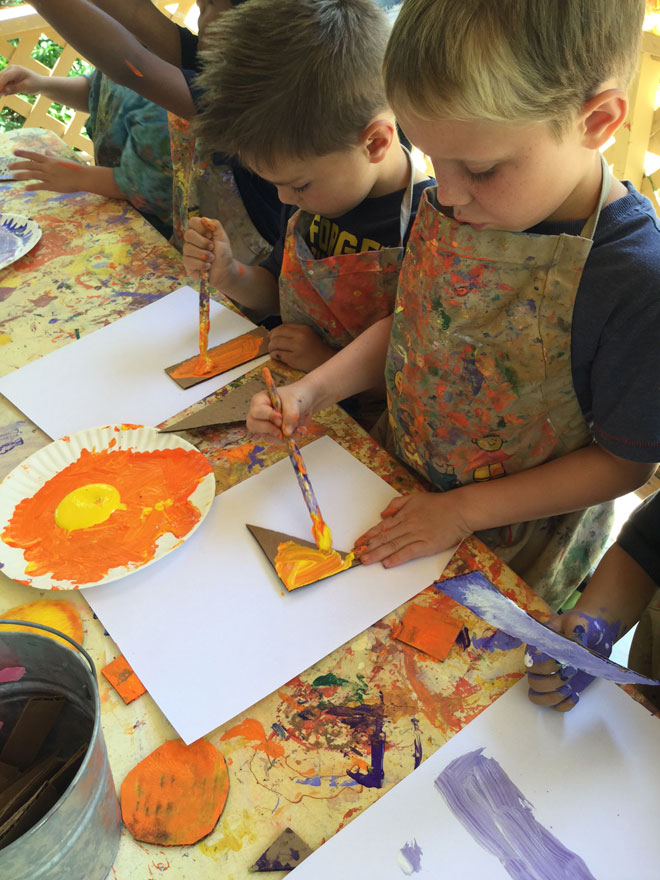
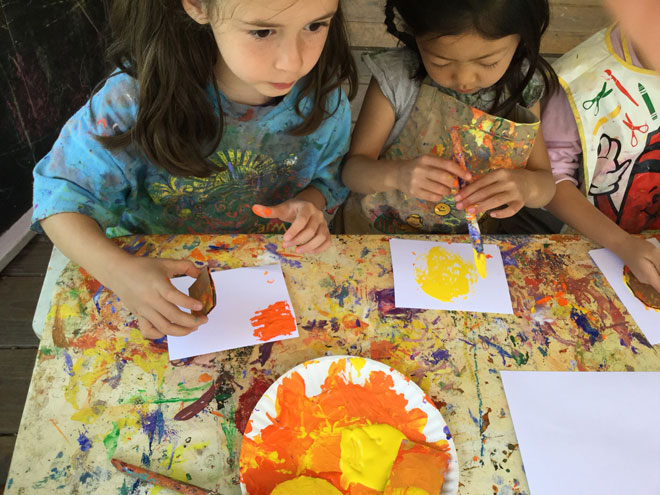
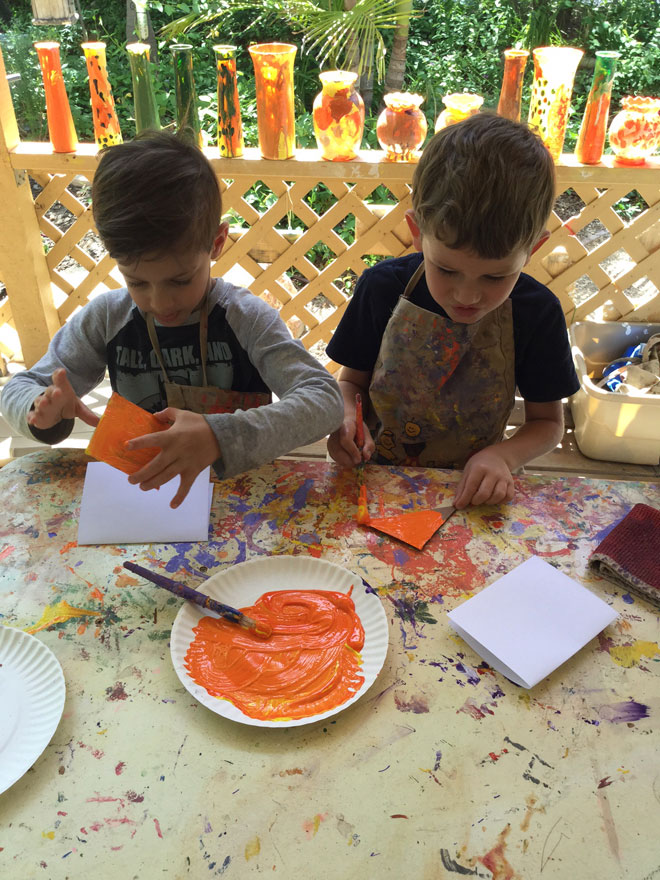
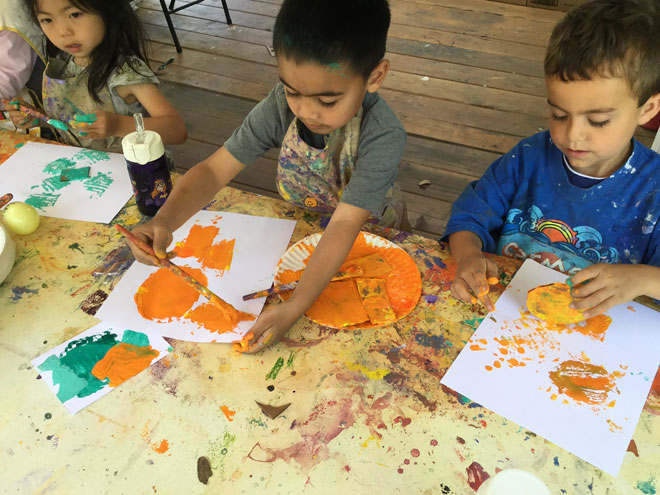
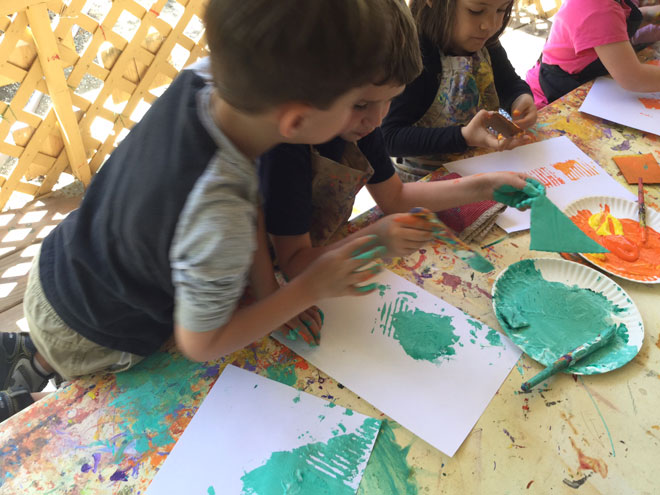
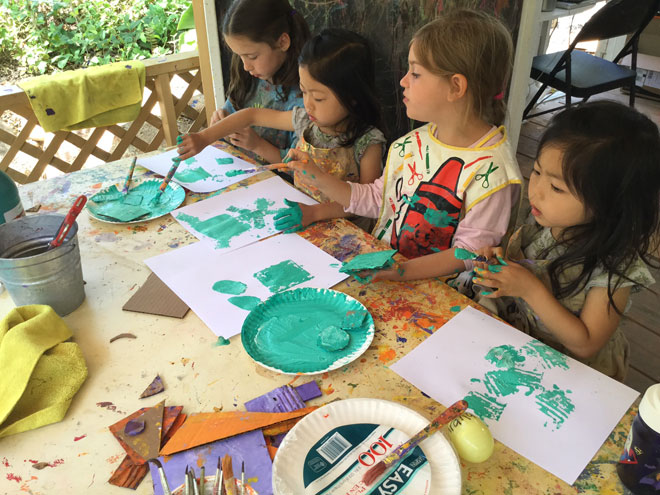
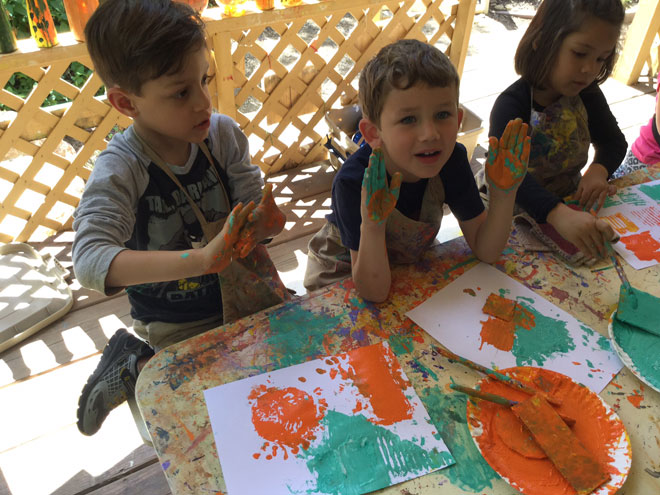
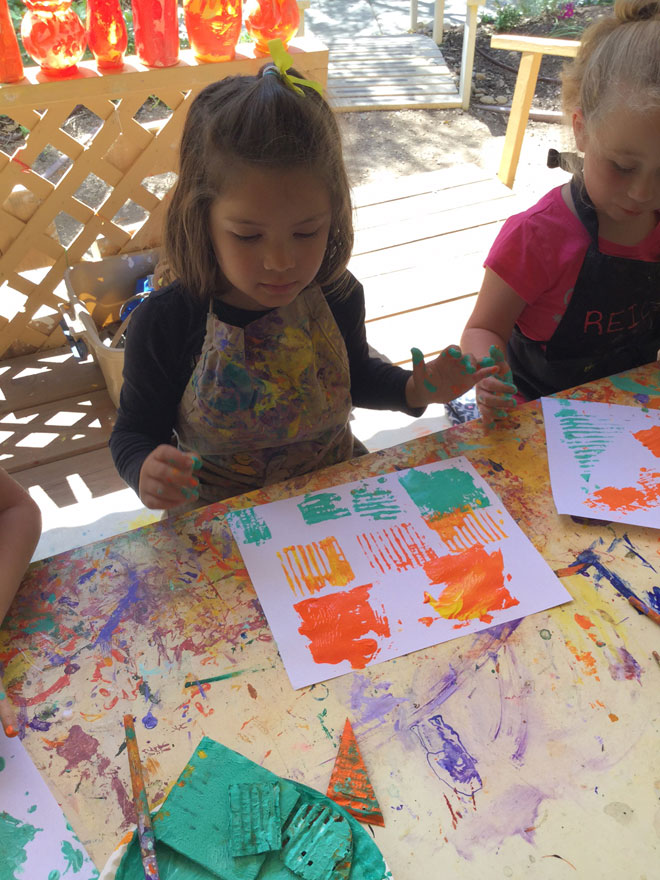
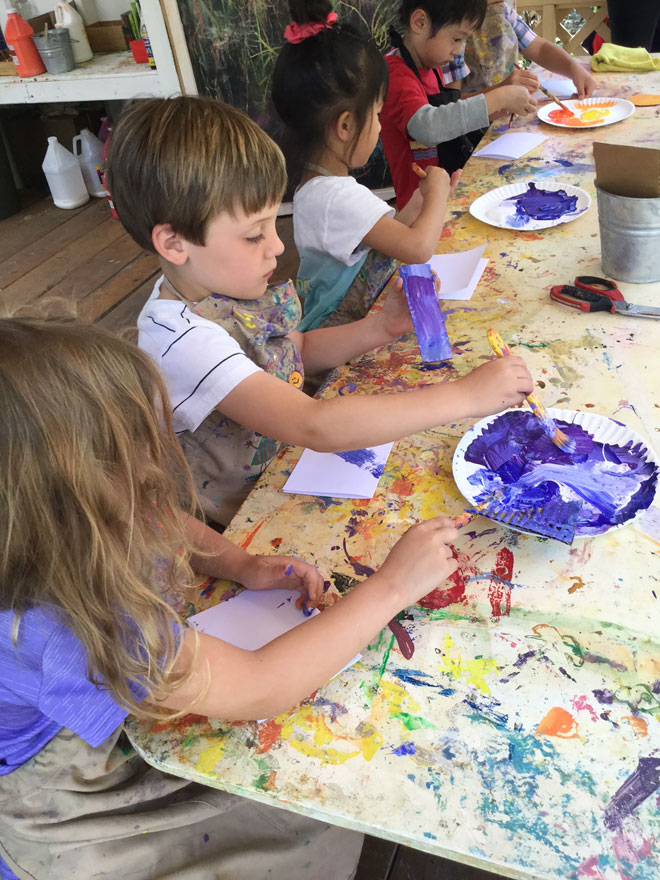
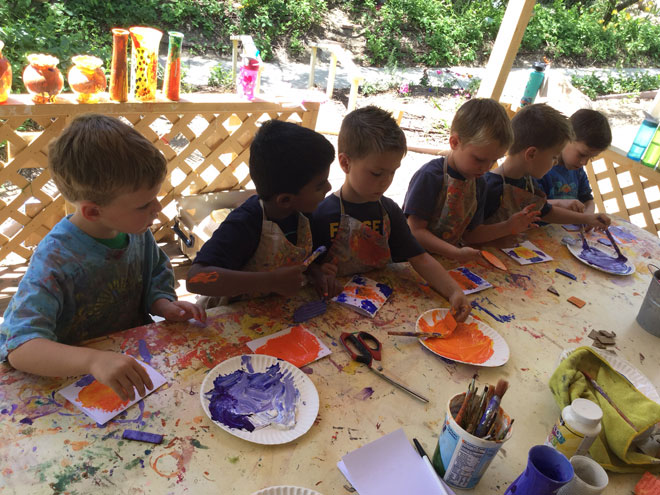
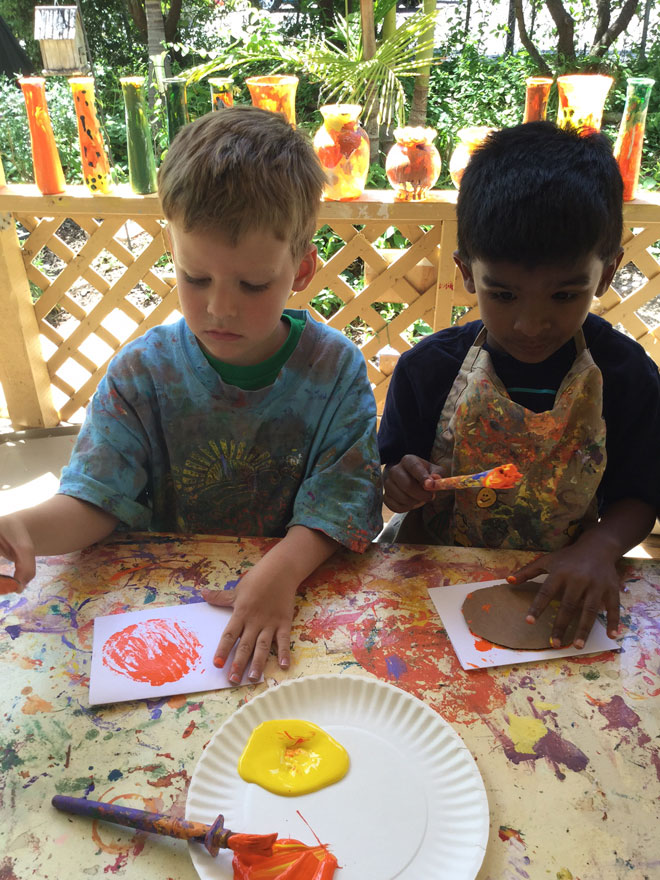
I am a professional printmaker, so whenever I get a chance to teach the kids how to print and make editions, I get really excited to see what they create and always so inspired by their ability to have fun with such an amazing process. This week up in The Studio, we cut up recycled pieces of cardboard. The kids cut out small, medium, and large shapes. Then they tore off the top surface so that they could see the corrugated surface. The kids chose what shapes they wanted to use and painted and printed a variety of designs and patterns. They learned about shapes, repetition and how new colors are created when two shapes overlap each other. This is very fun lesson full of creative problem solving and process orientated success. Have fun!
Materials:
- Corrugated Cardboard- cut into a variety of sizes and shapes
- Paper for printing
- Paintbrushes
- Paint
Instructions:
- Cut the cardboard into shapes. If the children and under the age of 5, pre-cut for them.
- Have the students help tear off the top layer of cardboard, so the the corrugated surface is showing.
- Choose a variety of shapes, (or pass out 4-5 shapes to each student)
- Paint the surface and press onto the paper.
- Repeat the printing steps, until the paper is full of patterns and designs.
- Make sure that the students print a variety of colors.
**Wear smocks, make a mess, and HAVE FUN CREATING!